Bathroom Interior Design in Gurgaon: Tiles, Waterproofing, Storage and Cost
A bathroom renovation should balance appearance with waterproofing, ventilation, safe flooring and easy maintenance. For homeowners planning bathroom interior design in Gurgaon, the most important decisions often happen before tiles and fittings are selected: confirm plumbing locations, inspect existing dampness, plan storage and make sure water drains correctly. This guide covers practical choices for apartments and builder floors, from layouts and finishes to budgeting and handover.
1. Start with measurements and plumbing
Measure the bathroom and mark the door swing, toilet, basin, shower, floor drain, windows and existing plumbing points. In a compact bathroom, a clear route between the entrance and fixtures matters more than adding extra decorative elements. Check whether the door can open without hitting a vanity or towel rail, and allow enough room to use each fixture comfortably.
Moving a toilet or shower can involve concealed plumbing, floor levels and waterproofing repairs, so do not assume a new layout will cost the same as replacing finishes in the existing positions. Ask a qualified plumber to inspect the condition of pipes and drainage before the design is finalised. If there are recurring leaks or damp patches, identify and repair the source before closing walls or laying new finishes.
2. Choose a practical layout for the available space
For a small apartment bathroom, keeping the basin, toilet and shower in a logical sequence can reduce unnecessary movement and limit plumbing changes. A glass shower screen may help contain water while preserving sightlines, provided the layout leaves adequate access and the screen is installed safely. In a narrow bathroom, a sliding or outward-opening door may be worth considering if it suits the building and safety requirements.
Separate wet and dry zones where possible. Keep the shower area close to the floor drain, and make sure water cannot easily escape toward the doorway. Confirm floor slope and drain placement with the installer rather than relying on the tile pattern to guide drainage. A visually seamless floor is not useful if water pools in corners.
3. Treat waterproofing as a priority
Waterproofing is one of the most important parts of a bathroom renovation, even though most of it becomes hidden after the work is complete. The correct system depends on the substrate, wet-area design and product instructions. Ask the contractor to specify the waterproofing product, preparation method, coverage area, treatment of corners and pipe penetrations, and the required curing time.
Do not rush tile installation before the waterproofing system has been completed and checked according to the manufacturer’s instructions and the contractor’s agreed method. Photograph the work before it is covered and retain product details, invoices and any test records. If the property is in an apartment building, coordinate work that could affect neighbouring units and investigate existing seepage before beginning cosmetic upgrades.
4. Select tiles for grip and maintenance
Bathroom tiles should be chosen for the location in which they will be used. Floor tiles need appropriate slip resistance for wet conditions; glossy wall tiles may be easier to wipe but are not a good default for a wet floor. Ask suppliers for the product’s intended use, cleaning guidance and relevant slip-performance information rather than judging only by appearance.
- Floor tiles: prioritise suitable wet-area grip, drainage and easy cleaning.
- Wall tiles: consider the tile size, grout lines, cleaning routine and the visual scale of the room.
- Grout: select a compatible grout and sealant system, and follow the care instructions.
- Large-format tiles: can reduce the number of joints but require a suitable substrate and skilled installation.
- Accent tiles: use selectively so the room remains visually calm and replacement is manageable.
Take physical samples home and view them under the bathroom’s actual lighting. Very dark finishes can show water spots or soap residue, while very pale grout may need more frequent cleaning. Confirm tile batch, shade and quantity before installation so that later replacements are less likely to look noticeably different.
5. Plan ventilation and lighting
Moisture needs a way to leave the bathroom. Where there is a suitable window, plan for usable ventilation; where natural ventilation is limited, discuss an appropriately sized exhaust fan and a route for exhausting air. A fan that simply moves damp air into a ceiling void is not a solution. Keep access to the fan and any serviceable components in mind.
Lighting should make everyday tasks comfortable. Combine general illumination with even lighting near the mirror so that faces are not heavily shadowed. Select fixtures rated and installed for the bathroom location, and have electrical work carried out by a qualified professional in accordance with applicable requirements. Avoid placing ordinary fittings where they may be exposed to water.
6. Choose a vanity and storage that fit
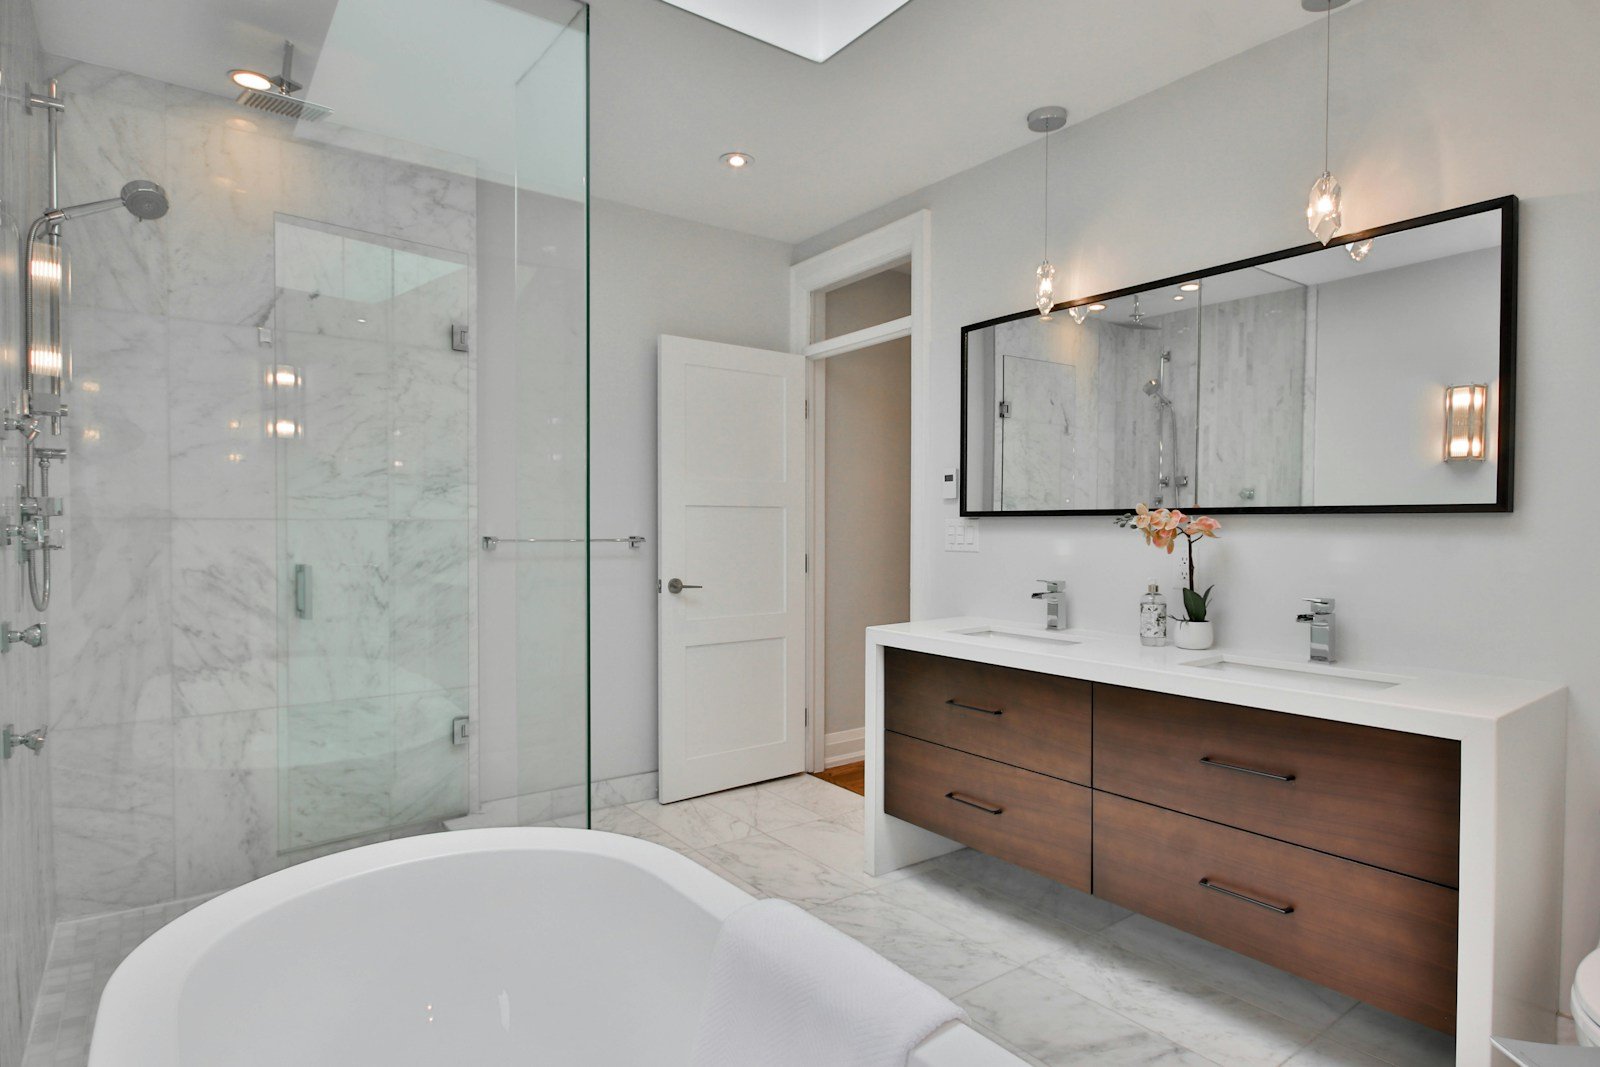
A vanity can provide useful storage for daily toiletries, cleaning products and spare towels, but it must fit the available clearance and plumbing. Wall-hung units can make the floor easier to clean, while floor-standing cabinets may offer more enclosed storage. Check the material’s suitability for a humid environment and protect exposed edges from water.
Use a mirror cabinet or recessed shelf only where the wall construction and plumbing allow it. Keep everyday items within reach and avoid overcrowding the basin counter. Plan towel hooks, toilet-roll holders and shower niches before the tiling begins so that accessories can be fixed securely without unnecessary drilling through finished waterproofed areas.
7. Select sanitaryware and fittings carefully
Compare toilets, basins, taps and showers for dimensions, water connections, maintenance and availability of replacement parts. Confirm the tap-hole arrangement and basin compatibility before ordering. A beautiful basin that does not suit the tap or counter depth can create splashing and cleaning problems.
Ask about product warranties, installation requirements and after-sales support. Keep the model numbers and purchase records together. If water pressure varies in the building, check product requirements with the plumber before selecting a shower system. Avoid mixing incompatible components from different systems without confirming that they will work together.
8. Plan for Gurgaon homes and apartment rules
In Gurgaon apartments and builder floors, bathroom renovations may need coordination with the housing society, building management and neighbouring homes. Confirm allowed work timings, lift protection, debris removal and any restrictions on plumbing changes before the contractor starts. Shared plumbing stacks and waterproofing failures can affect more than one unit, so changes should be assessed professionally.
Dust, hard-water deposits and frequent use make cleanability a practical consideration. Choose fittings with accessible service parts, finishes with clear care instructions and surfaces that do not require specialised cleaning for routine upkeep. If the home has recurring dampness, resolve the cause rather than covering stains with new paint or panels.
9. Understand bathroom renovation costs
The total cost depends on bathroom size, demolition, plumbing changes, waterproofing, tile selection, sanitaryware, electrical work, vanity carpentry, glass partitions and finishing. Replacing tiles and fittings while retaining the existing layout is usually a different scope from moving drains, changing pipe routes or correcting major substrate problems. Compare quotes only after the scope and specifications are clear.
- Demolition, debris removal and protection of adjacent rooms.
- Plumbing inspection, pipe replacement or relocation where required.
- Surface preparation, waterproofing and agreed testing or checks.
- Tiles, adhesive, grout, trims and installation labour.
- Sanitaryware, taps, shower fittings, mirror and accessories.
- Electrical work, ventilation, lighting and any required ceiling work.
- Vanity, storage, glass screen, sealants, finishing and cleanup.
Ask for an itemised quotation that lists brands, model numbers, quantities, labour, exclusions, taxes, payment milestones and the expected timeline. Clarify who is responsible if hidden damage is discovered after demolition and require written approval before extra work begins. Keep a reasonable contingency for unforeseen conditions, especially in older bathrooms.
10. Common mistakes to avoid
- Choosing tiles for appearance without checking suitability for wet floors.
- Covering dampness before finding and fixing the source.
- Skipping agreed waterproofing checks to save time.
- Forgetting ventilation or selecting an unsuitable exhaust route.
- Ordering sanitaryware before checking dimensions and plumbing connections.
- Leaving towel rails, niches and accessories until after tiling.
- Approving a vague quotation with no material specifications or exclusions.
Bathroom renovation checklist
- Measure the room and confirm fixture locations and door clearance.
- Inspect plumbing, drainage and any existing dampness.
- Approve waterproofing details and the agreed inspection process.
- Choose suitable floor and wall tiles, grout and sanitaryware.
- Plan ventilation, lighting, mirror and electrical requirements.
- Confirm vanity storage, accessory locations and glass-screen dimensions.
- Review the itemised quote, schedule, exclusions and payment terms.
- Test drainage, taps, flush, ventilation and lights before handover.
- Keep product warranties, care instructions and completion photographs.
Frequently asked questions
How can I make a small bathroom look bigger?
Use a clear layout, good mirror lighting, a restrained palette and storage that does not obstruct movement. A glass shower screen can preserve sightlines, but only if it suits the dimensions and contains water effectively. Avoid sacrificing safe flooring or necessary storage just to create a minimal look.
Which tiles are best for a bathroom floor?
Choose tiles specifically suitable for wet floors and confirm their slip-resistance information with the supplier. The floor also needs correct slope, compatible grout and careful installation. No tile alone guarantees safety if soap, standing water or poor drainage are present.
Can I renovate a bathroom without moving the plumbing?
Often, retaining the existing fixture positions can simplify the scope and reduce disruption. However, the plumber should inspect the existing pipes, drains and connections first. If there are leaks, poor drainage or unsuitable clearances, repairs or layout changes may still be necessary.
What should I check before accepting the finished bathroom?
Check that taps and flushes work, water drains without persistent pooling, the shower screen and accessories are secure, ventilation operates, and there are no visible leaks or unfinished sealant joints. Review the agreed waterproofing records and collect product warranties and care instructions.
For wider home planning, explore our 2BHK flat interior design guide, read the home renovation timeline for Gurgaon, and review the interior design quotation checklist before approving work. Visit Homework Design Studio to learn more about the studio.


Related Posts
Kitchen Pantry Design in Gurgaon: Tall Units, Pull-Out Storage and Smart Space Planning
Home Library Design in Gurgaon: Built-In Shelves, Reading Corners and Smart Storage
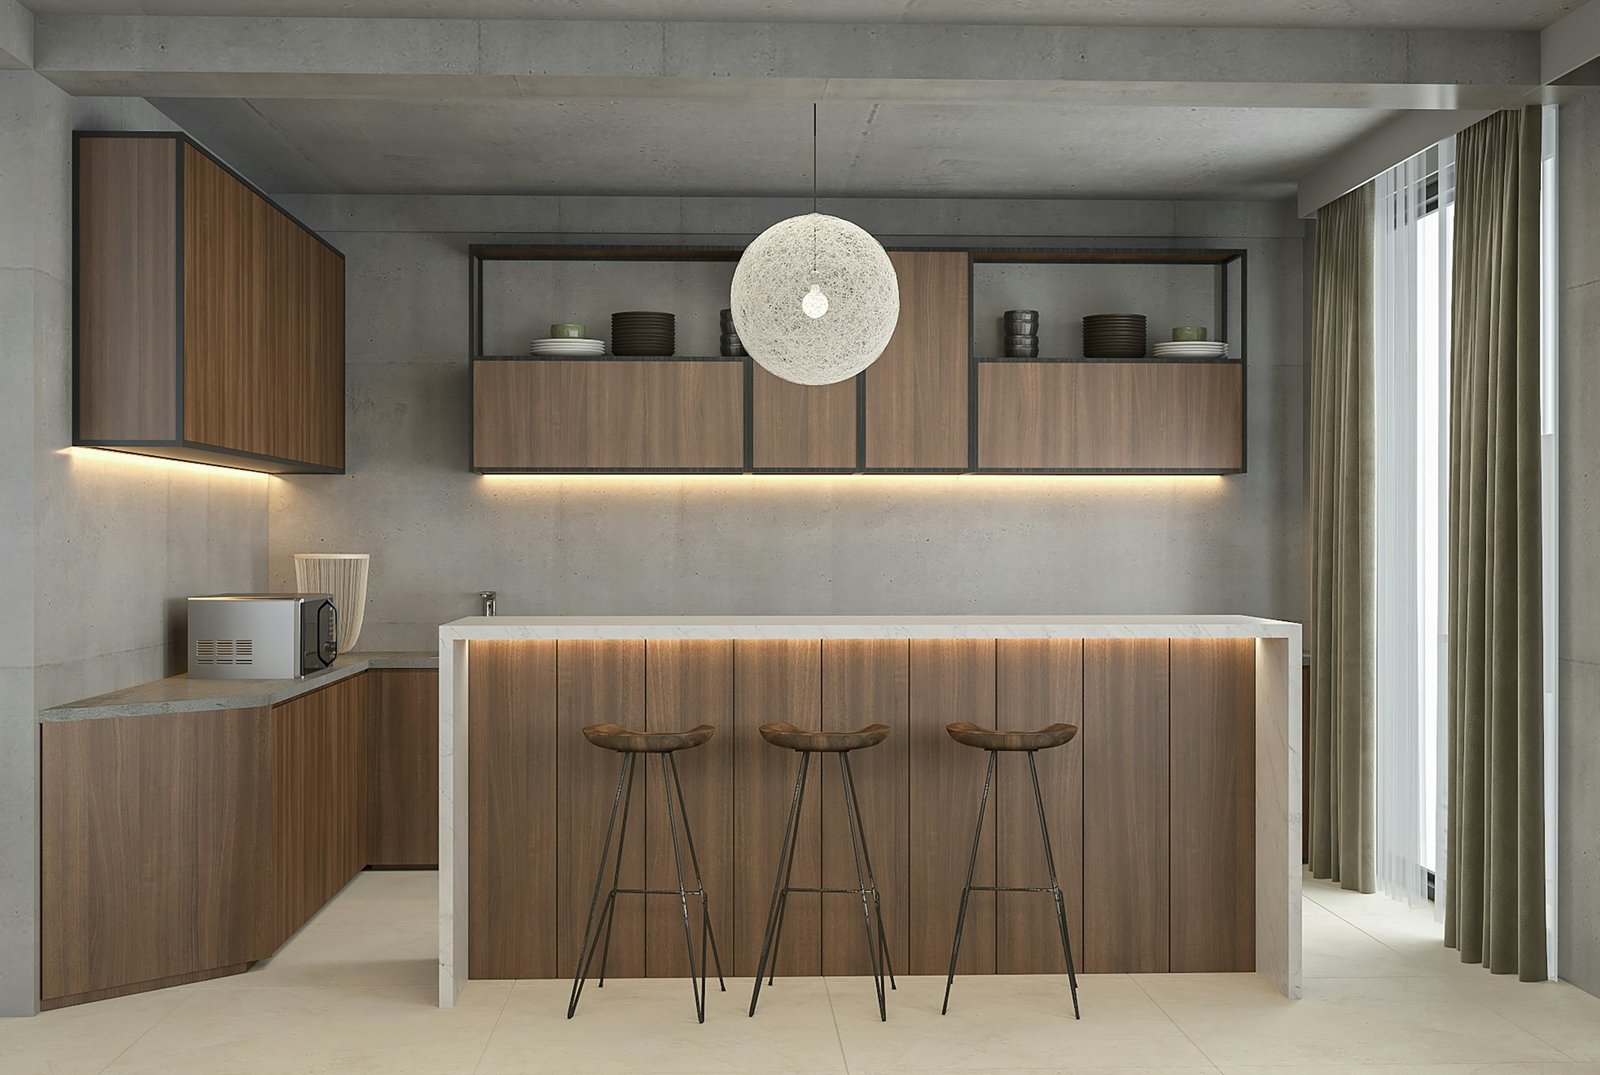
Plywood vs MDF vs HDHMR for Home Interiors in Gurgaon: Which Material Should You Choose?
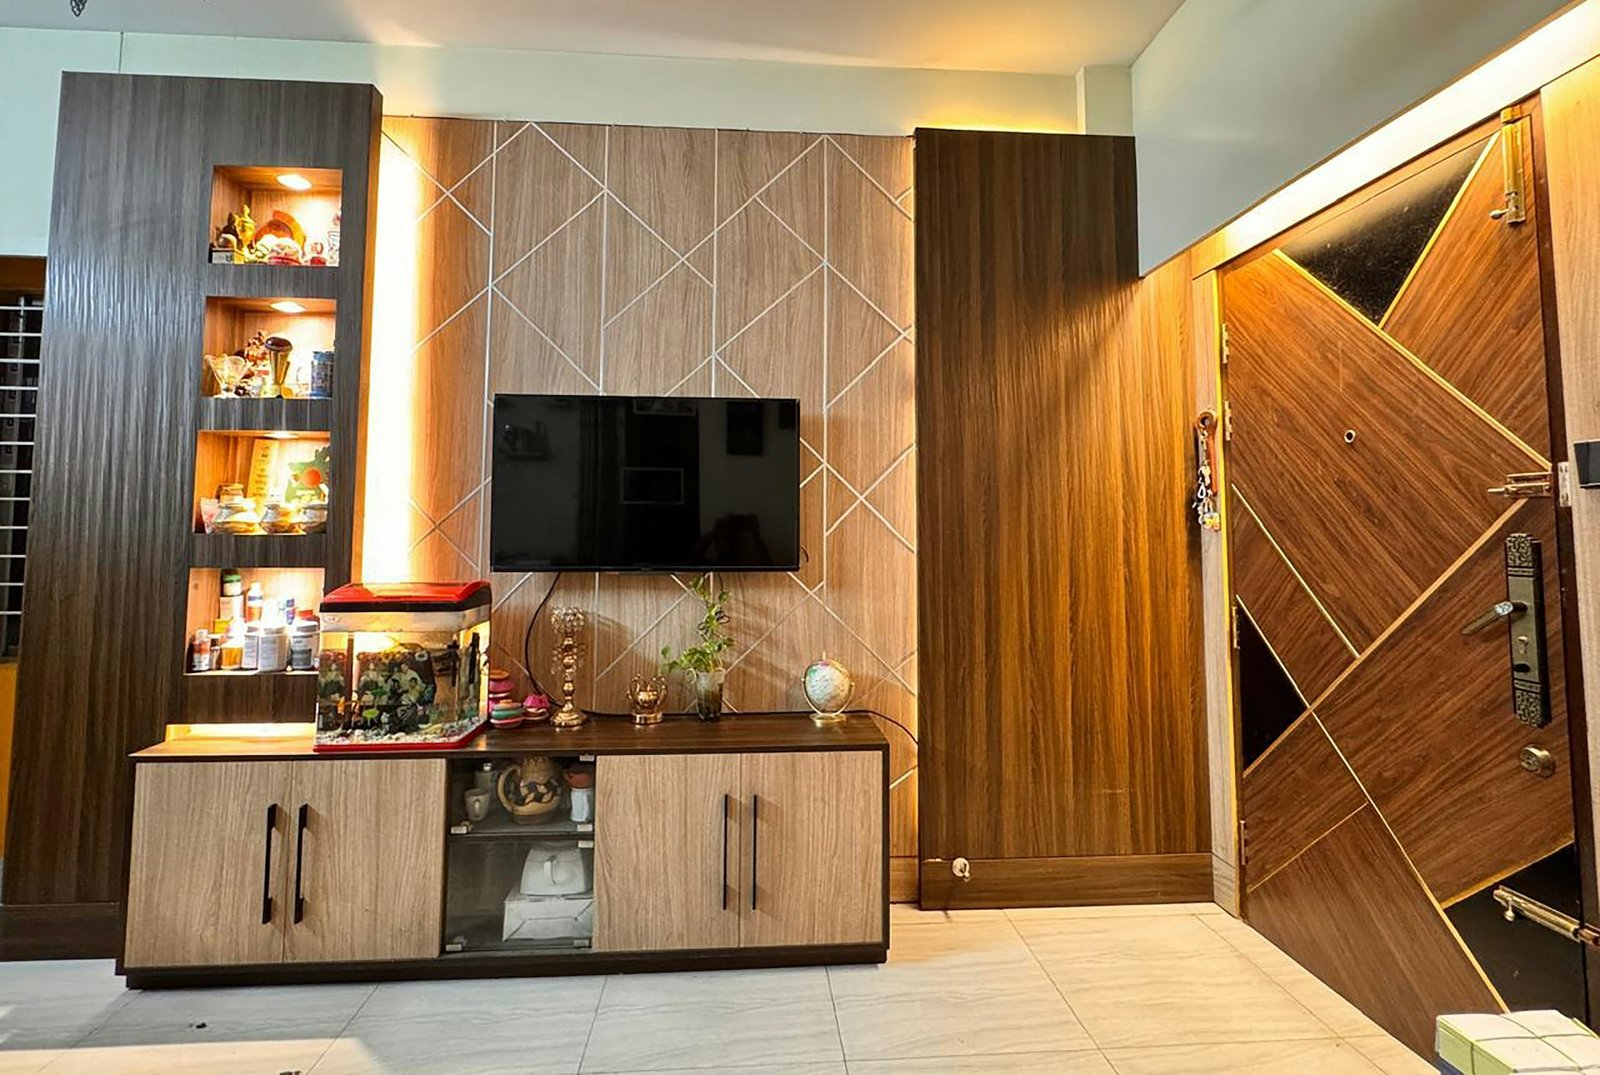
TV Unit Design Ideas in Gurgaon: Modern, Space-Saving and Practical Solutions
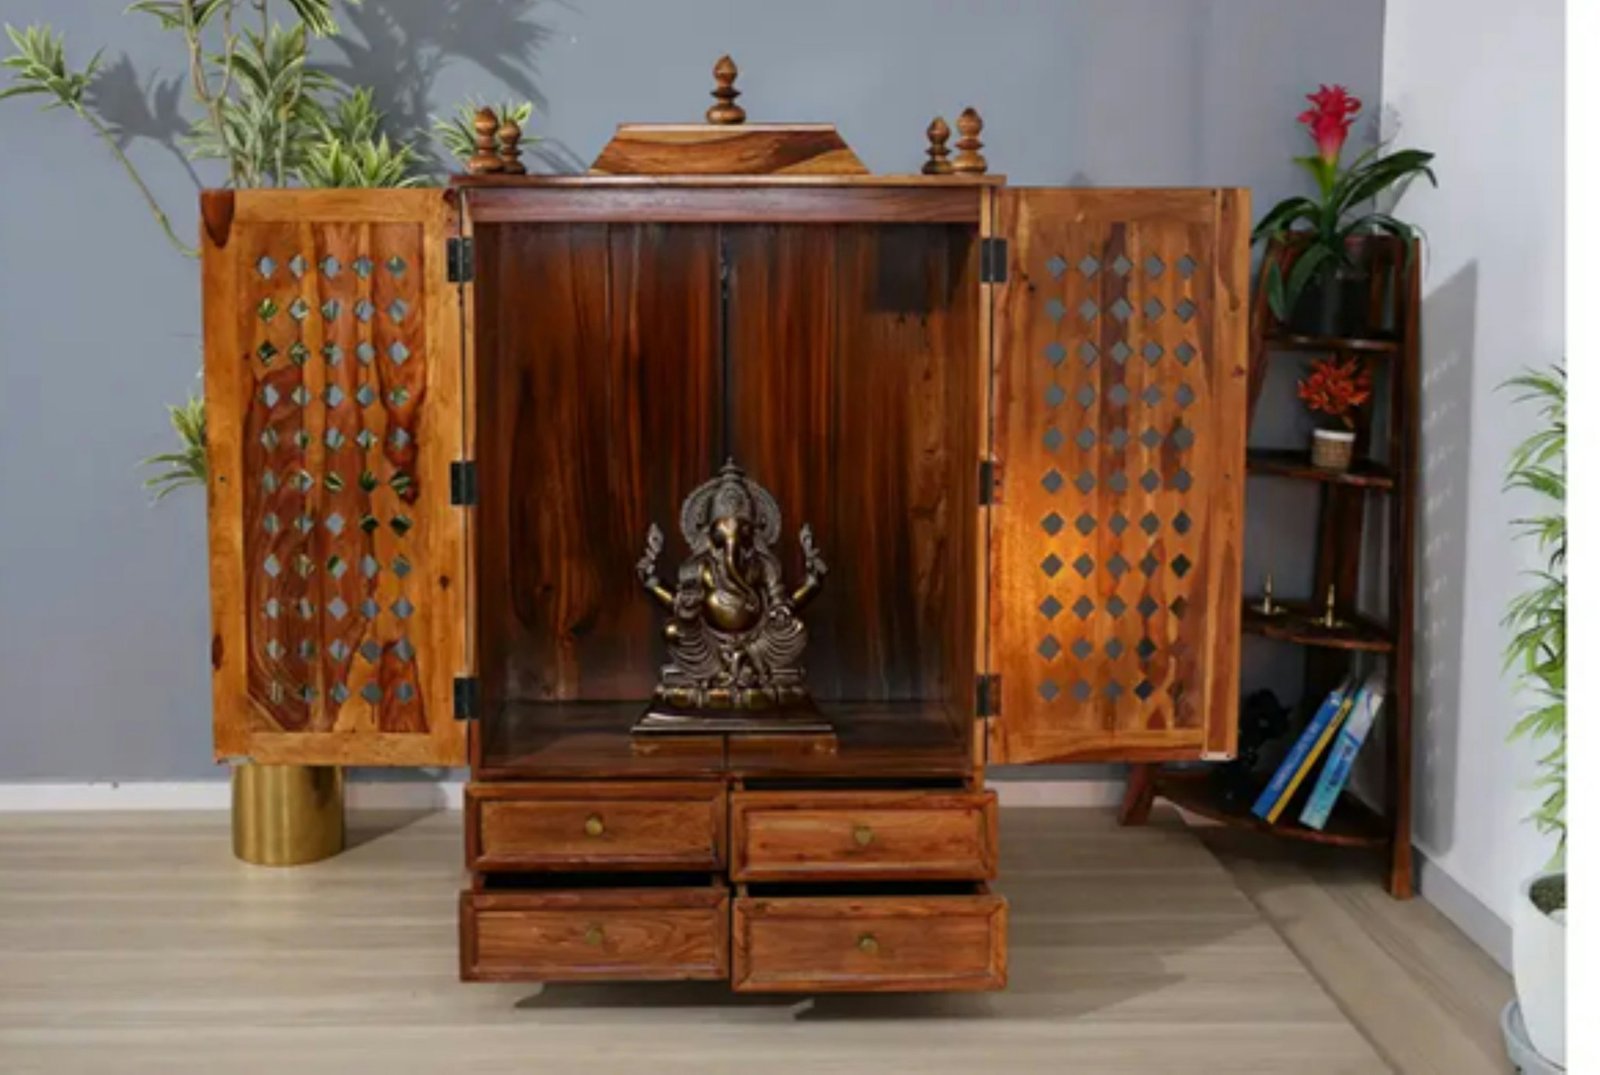
Pooja Room Interior Design in Gurgaon: Practical Ideas for Apartments and Builder Floors
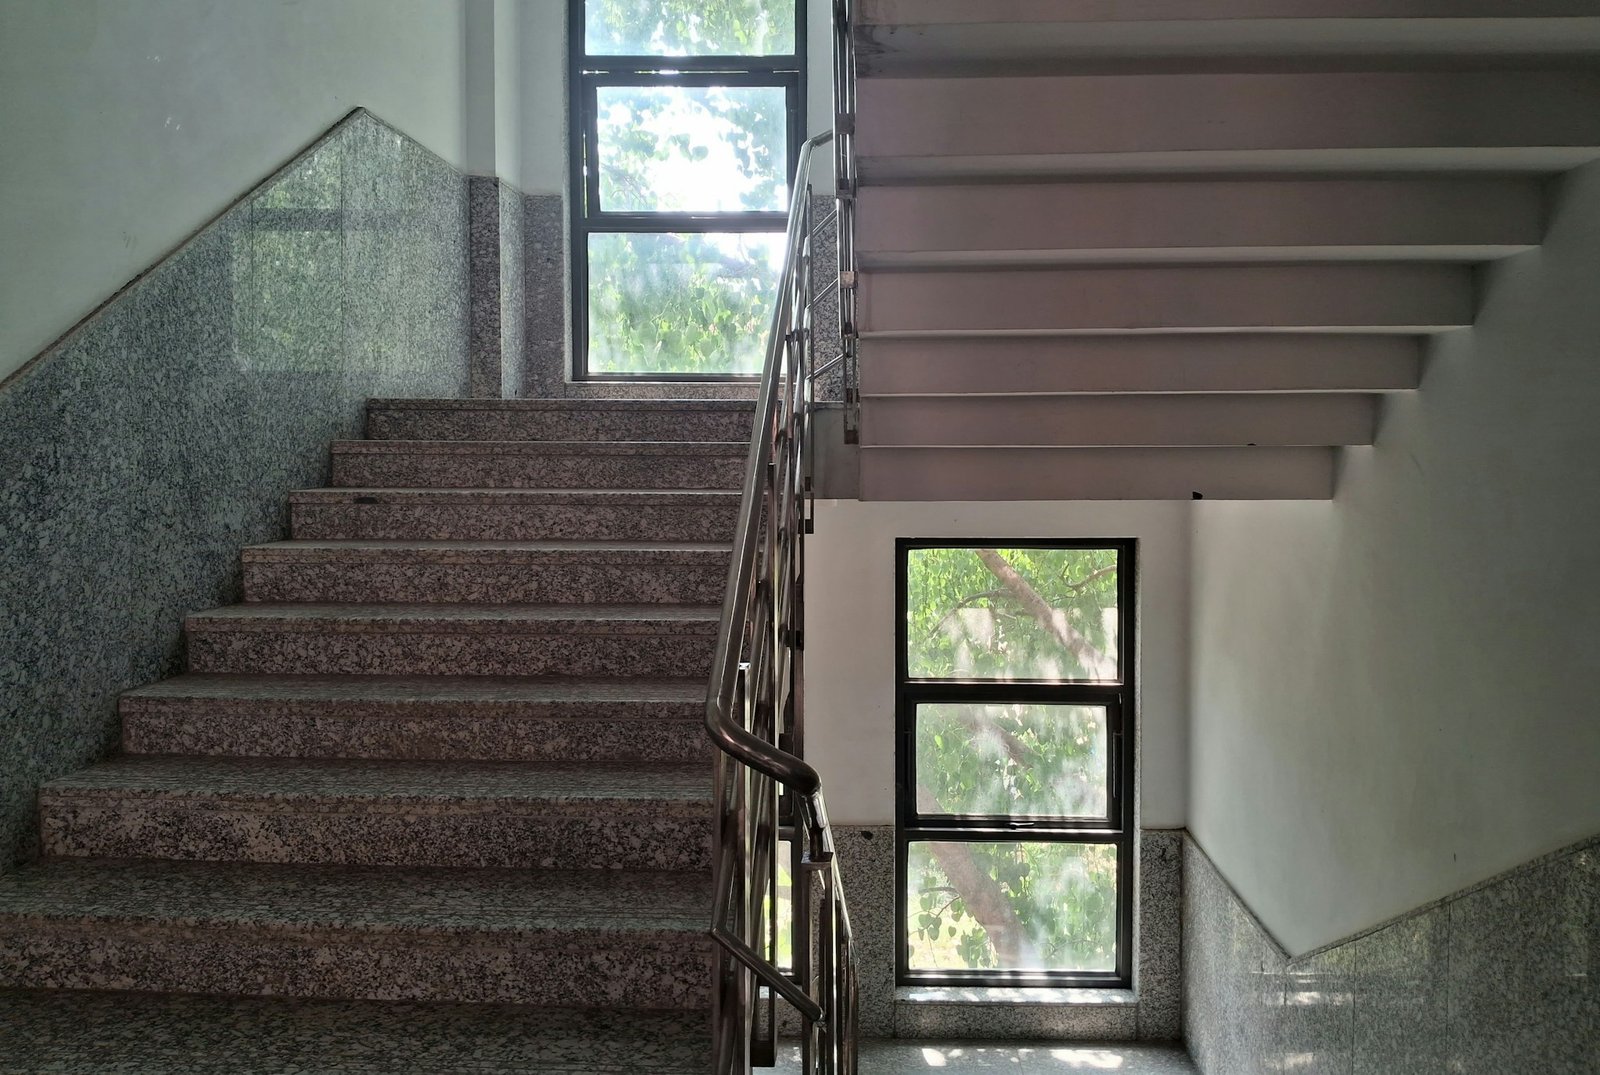
Staircase Design Ideas for Gurgaon Homes: Materials, Railings, Lighting and Storage

Foyer and Entrance Design Ideas in Gurgaon: Storage, Lighting and Space-Saving Tips
Dining Room Design Ideas in Gurgaon: Layout, Furniture, Lighting and Storage

Apartment Balcony Design Ideas in Gurgaon: Flooring, Plants, Privacy and Budget
Senior-Friendly Home Interior Design in Gurgaon: A Practical Room-by-Room Guide

Home Renovation Checklist for Gurgaon: Before Work Starts to Handover
Kids’ Bedroom Interior Design in Gurgaon: Safe, Smart and Space-Saving Ideas
False Ceiling Design in Gurgaon: Types, Lighting, Costs and Practical Tips

Living Room Interior Design in Gurgaon: Layout, Lighting and Budget Tips

Builder Floor Interior Design Cost Gurgaon: Complete 2026 Budget Guide
Builder Floor Interior Design Ideas Gurgaon: Layout, Storage, Furniture & Cost Guide

Best Interior Designer in Gurgaon: 10 Companies to Compare in 2026
Bedroom Interior Design Ideas for Gurgaon Homes: Modern, Comfortable & Functional Spaces | 2026 Guide
Interior Designer in Sector 56 Gurgaon: A Practical Guide to Designing a Better Home

Interior Designer Near Golf Course Road Gurgaon: How to Choose the Right Studio
Home Renovation Company in South City Gurgaon: How to Plan a Smooth Remodel
Interior Design Services in Sushant Lok: Hire a Local Studio
Interior Designer in DLF Phase 1 Gurgaon: Local Projects & Process
Office Interior Design in Gurgaon for Startups & Small Teams: Cost Guide
Penthouse Interior Designer in Gurgaon: What to Expect from Consultation to Handover

Interior Design for Villas in Golf Course Extension: Process & Pricing
Modular Kitchen Designer in Gurgaon: Cost & Design Process
3 BHK Interior Design Package in Gurgaon: What’s Included, What’s Extra
Hire an Interior Designer in Gurgaon: A Practical Guide to Designing a Home You’ll Love
Beyond the Hype: What You Really Need to Know About Hiring Famous Interior Designers in Delhi
False Ceiling Design for Living Room: Luxury Ideas & Trends
L-Shaped Modular Kitchen Design: Luxury & Efficiency
Top Luxury Interior Design Company in Noida

Top Interior Designer in Noida | Turn Your Home into a Luxury Sanctuary with Homeworkdesigns
Duplex Interior Design in South Delhi: GK & Panchsheel Case Notes

Interior Design Cost for GK1 & GK2 Builder Floors: A 2026 Pricing Guide
Renovating a Resale Flat in Gurgaon: What to Check Before You Move In
DLF Phase 3 vs DLF Phase 5: How Builder Floor Interiors Differ
Interior Design Cost for 4BHK Independent Floors in Gurgaon
Interior Designer vs Contractor: Who Should You Actually Hire?
Kitchen Renovation Cost in Gurgaon 2026: Modular vs.Custom, What’s Worth It?
Luxury Interior Designers in Gurgaon | Home & Office | Homework Designs
How to Design a Small 1BHK Apartment in Gurgaon: 11 Space-Saving Ideas

Top Interior Designer in DLF Phase 1 Gurgaon | 2026 Cost & Services
Renovating a Home in Palam Vihar Gurgaon Is About More Than Just Upgrading Interiors
Home Interior Designer Sohna Road Gurgaon: Designing Homes That Feel Luxurious, Functional, and Truly Personal
Interior Designer Golf Course Extension Road: Creating Luxury Homes That Feel Effortless
Home Renovation Sector 56 Gurgaon: Transforming Everyday Homes Into Elegant Living Spaces